 chuck
Educational guide based on our supplied DIY glossary. No hands-on testing or external source verification. Check current instructions for your exact tools and materials.
Decide what you want to change
Before comparing machines, describe the job in plain terms. Are you preparing a small filled repair, smoothing bare timber or removing a substantial amount of material? These are different demands. The condition of the surface and the finish you plan to apply should shape the choice.
Check that the material is suitable to sand in the first place. An old coating or unknown board can need identification before disturbance. Do not assume a powered tool is the right answer simply because a surface looks rough.
Understand the broad differences
A belt sander uses a continuous abrasive loop. It is associated with relatively rapid material removal, which means control matters: removing more than intended can change the shape of the work. It is not an automatic first choice for every decorating or furniture task.
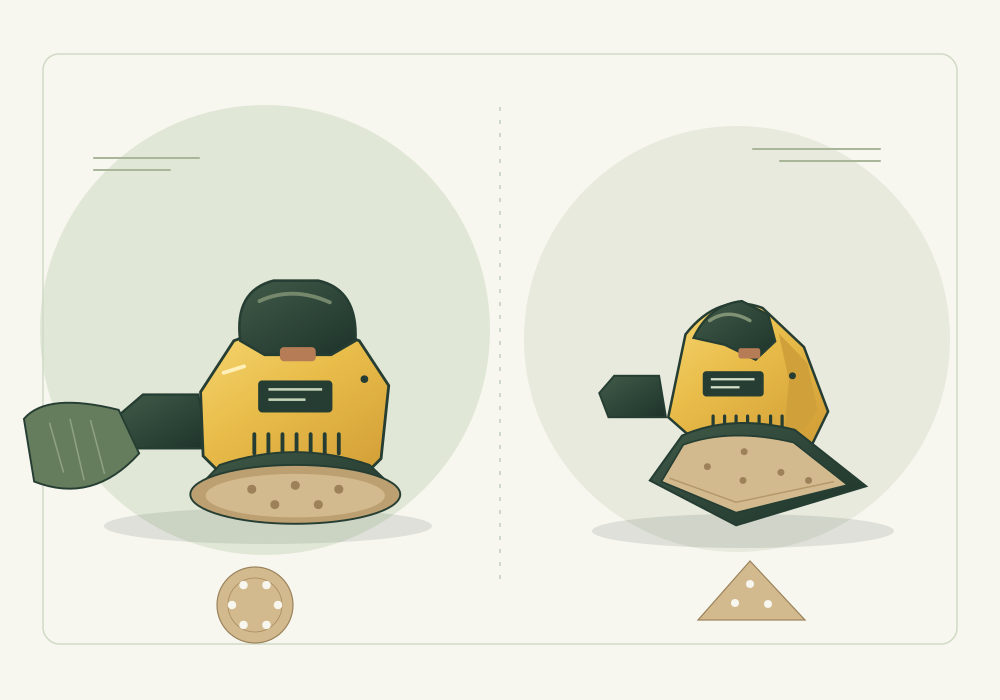
An orbital sander moves its abrasive pad in small orbital motions. It is a different approach to the continuous belt, but the label alone does not tell you everything about the finish or control you will get. Compare the exact machine, abrasive requirements and intended applications.
Other machines use different pad shapes or sanding actions. A name in a retailer listing is a starting point for investigation, not proof that a tool can safely reach every corner or handle every material. Read the manufacturer’s description and operating limits.
Consider whether hand sanding is enough
A sanding block is easy to overlook when you are browsing powered tools. It supports the abrasive and helps spread pressure, making it a sensible option to consider for a small flat area. It also avoids buying a machine for a task that may not justify one.
Hand sanding still creates dust and can damage a finish or edge if the approach is unsuitable. Treat it as another method to assess, rather than a risk-free fallback. Check the abrasive and preparation advice for the material.
Look beyond the tool-only price
Check which abrasive sizes and attachment systems the sander needs, and whether suitable replacements are readily available. A low purchase price may be less attractive if consumables are awkward to obtain or the supplied selection does not suit your work.
Consider how the extraction arrangement fits your workspace. A port on the tool is only part of a dust-control plan: connections, collection equipment and the material being sanded also matter. Confirm compatibility in the instructions rather than assuming that similar-looking fittings will work.
- Include appropriate abrasives and dust-control arrangements in the budget.
- For cordless tools, check whether a compatible battery and charger are included.
- Consider access, grip and the weight you will actually hold during the job.
Make a short, useful buying brief
Write down the material, area, shape and intended finish, along with how often you expect to use the tool. These details are more useful than a vague request for the “best sander”. They help you compare models that are intended to solve the same problem.
Where possible, handle a suitable model and check whether its controls and grip feel manageable. That does not prove its performance, but it can reveal practical issues a specification table misses. Avoid relying on an unsupported promise of a perfect finish.
Before starting, follow the exact equipment instructions and assess dust, nearby people and the material’s condition. Suspected lead paint or asbestos needs a specialist plan, not a more powerful sander.
The takeaway
- Choose a sanding approach for the surface and amount of removal.
- Consider hand sanding for small tasks instead of assuming you need a machine.
- Budget for compatible abrasives and suitable dust control.